I will be updating this page often as I run the adventure for my group, just like I did with my Tyranny of Dragons guide. There will likely be mistakes and errors, so please bear with me. This will be a "living" document for a few months.
This has tons of spoilers, so players please keep out. Feel free to email me with links or ideas.

Official Elemental Evil Links
Elemental Evil Player's Companion - New spells and races, completely free!
Mike Schley's Maps - They are awesome, cheap and very useful.
Sean Macdonald's Maps - Also awesome, cheap and very useful.
My Elemental Evil Articles
The History of Elemental Evil - I did my best to give a synopsis of each elemental evil D&D product
A Guide to Imix - A history of the elemental prince of fire.
My Review of Princes of the Apocalypse - It is certainly thorough.
Where is the Dessarin Valley?
This adventure takes place in the Dessarin Valley area. The heroes start off in the town of Red Larch. Red Larch is about 100 miles northeast of Waterdeep (which was featured heavily in the Tyranny of Dragons storyline). Here's a map:

To Sandbox or Not to Sandbox?
 |
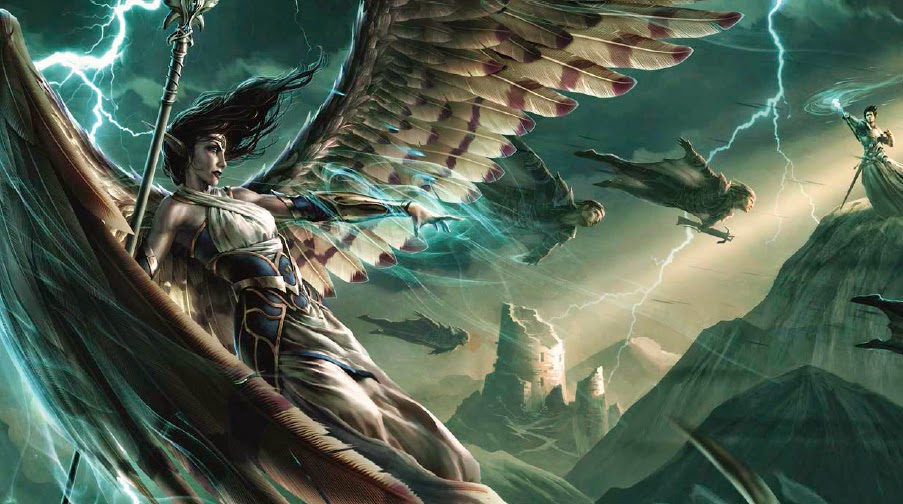
| Ogremoch |
The main thing to keep in mind if you are going to let your players free roam, is that it is likely they will head to Beliard once they find out that that is the last place the delegates were seen at. What happens if the players head there is covered on page 42.
The Mirabar Delegation

What the Heroes Know: A delegation was traveling from Mirabar to Waterdeep. It stopped in a tiny village called Beliard (see page 33 for a description of Beliard, and page 42 for what happens when the PCs go there). The delegation was last seen at the west end of the stone bridge, turning south to proceed overland through the heart of the Sumber Hills. It has been a month, and the delegation has not turned up.
What Happened: According to Bruldenthar's tale (on page 67), the earth cultists ambushed the Mirabar delegation and killed most of the guards. Air cultists attacked and stole Deseyna from the earth cultists.The earth cult brought the rest of the delegates to the Sacred Stone Monastery and the earth temple below. From there, the poor delegates were further snatched by various cults to be imprisoned, put to work, or sacrificed.
Many of the delegates' locations are revealed on page 115, "Saving the Delegates". It says Teresiel is in The Weeping Colossus room W17, but there is no W17 on the map.
Where the Heroes Can Find the Delegates: The factions are interested in different delegates, which is covered on page 41. This is the delegation:
Bruldenthar: A shield dwarf historian who was transporting his collection of manuscripts to Waterdeep . His 5 books about Delzoun are now in the possession of water cultist Shoalar Quanderil, who can be encountered in "Womford Rats" (page 43) or in Rivergard Keep (page 56, K12). Bruldenthar is imprisoned in the Sacred Stone Monastery (page 67, M19).
Teresiel: A moon elf from Silverymoon. Has a coded Lords' Alliance document. She also has magical seeds that the Emerald Enclave wants to bring to Goldenfields. According to page 115, she is in the Weeping Colossus, room W17. But there is no W17. I don't see her anywhere. It seems like you could just put her in the prison, which is room W6 on page 144.
Rhundorth: A shield dwarf from Mirabar. Has a coded Lords' Alliance document. Rhundorth is in the Black Geode page 140, room G15. He is being forced to make weapons
Deseyna Majarra: A noble from Waterdeep. Has a coded Lords' Alliance document. She is in the Howling Caves page 126, room N17. She will be tied to a rock column and sacrificed if our heroes aren't quick on their feet.
The body of a knight: This corpse is of a Knight of Samular killed by orcs at the Spine of the World. The corpse is to be interred with honor at Summit Hall, which is detailed on page 36 and 43. I am having trouble finding out the fate of this body.
There's evidence of who else was on the caravan:
- A male dwarf in artisan robes: A dead body found in "Shallow Graves" on page 43. It seems like this is an assistant of Rhundorth.
- A female human warrior dressed in a red surcoat with a black axe: A dead body found in "Shallow Graves" on page 43. Probably the captain of the guards.
- A dozen more soldiers in black surcoats with red axes: More dead bodies found on the road where the delegation was attacked.

Harpers
- (Triboar) Darathra Shendrel, Lord Protector of Triboar
- (Red Larch) Endrith Vallivoe (page 29, area 22): Merchant. A shy, scuttling man, not cut out for "derring-do".
- (Red Larch) Haeleeya Hanadroum (page 27, area 15): Owner of the bath house/dress shop. Caters to local women seeking dresses for special occasions. She hears a lot of gossip.
- (Goldenfields) Abbot Ellardin Darovik in Goldenfields
- (Dellmon Ranch) Dreena Dellmon (page 165): A young druid.
- Flamerin Verminbane (page 165): A lightfoot halfling scout, delelgate to the elves of the High Forest.
- (Red Larch) Helvur and Maegla Tarnlar (page 25, area 7): Clothiers. Helvur acts snobby to everyone but fellow members of the Lords' Alliance. Maegla is a sharp businesswoman.
- (Yartar) Nestra Ruthiol, Waterbaron of Yartar
- (Red Larch) Imdarr Ralvaunder (page 22, area 1): Priest of Tempus. A stern man keenly interested in news.
- Erned Stoutblade (page 165): A Tethyrian human knight, really hates orcs.
- (Red Larch) Magobarl Lorren (page 25, area 8): Town Baker. Thin, energetic, loves gossip.
- (Bargewright Inn) Nalaskur Thaelond (page 160, "New Management"): Innkeeper, doesn't trust his employees.
- (Bargewright Inn) Inglor Brathren (page 161): Dwarf handyman.

Level 1:
Red Larch Flavor (page 41): This kicks off the adventure.
Bears and Bows (page 149): Bandits and a caged bear.
Haunted Tomb (page 149) Small dungeon with undead.
Necromancer's Cave (page 151) Dungeon with undead and a necromancer.
Level 2:
Tomb of Moving Stones (page 153): Dungeon underneath Red Larch with links to the Earth Cult.
Level 3:
Skyriders (page 45): Air cult skyriders attack the PCs.
The Sighing Valley (page 50): The PCs will have go through the valley to get to Feathergale Spire.
Feathergale Spire (pg 46): Air cult outpost.
New Management (page 160): The PCs get involved with an inn and the zhentarim.
Reaver Ambush (page 45): Water cult bandits on the trail between Red Larch and the Ironford Bridge.
Level 4:
Rivergard Keep (pg 52): Water cult outpost.
The Spy's Letter (page 75): A letter the PCs can find in Rivergard Keep may expose a spy in Red Larch.
Iceshield Orcs (page 163): Orc invaders.
Tremors (page 44): Two ankhegs jump the party on the barren countryside.
Level 5:
Sacred Stone Monastery (pg 59): Earth cult outpost
The Long Road (page 166): Escort a caravan to Triboar
Fiery Fangs (page 45): Hell hounds with iron collars hunt the heroes.
Level 6:
Curse of the Fire Witch (page 167): A trap set by earth cultists
Scarlet Moon Hall (pg 69): Fire cult outpost
Temple of Howling Hatred (pg 78): Air temple
Level 7:
Temple of the Crushing Wave (page 84): Water temple
Dire Tidings (page 76): The cult uses an orb on a town
Level 8:
Vale of Dancing Waters: A dwarven shrine has been overtaken
Temple of Black Earth (page 95): Earth temple
Reckless Hate (page 76): Cultists attack the party's home
Level 9:
Dark Dealings in Yartar (page 175): A devastation orb is being sold in Yartar
Temple of Eternal Flame (page 103): Fire temple
Race to Destruction (page 77): The party is lured into a trap
Level 10:
Rundreth Manor (page 179): A haunted house
Fane of the Eye (page 115): A common area/dungeon for members of all of the cults
Level 11:
Halls of the Hunting Axe (page 180): Quest to find a tomb
The Howling Caves (page 123): Air node
Downpour (page 113): The water cult creates a torrential downpour
Level 12:
The Plunging Torrents (page 128): Water Cult
Tortured Earth (page 113): Earthquake/purple worm
Counsel of Despair (page 113): The Cult has infiltrated Westbridge
The Black Geode (page 135): Earth node
Haayon the Punisher (page 114): A cloud giant tries to take over a faction of scattered cultists
Level 13:
Burning Hills (page 113): The fire cult traps the PCs in a raging forest fire
The Weeping Colossus (page 141): Fire node
That's where I'm at so far. Check back again soon, I'll be plugging away at this thing.
